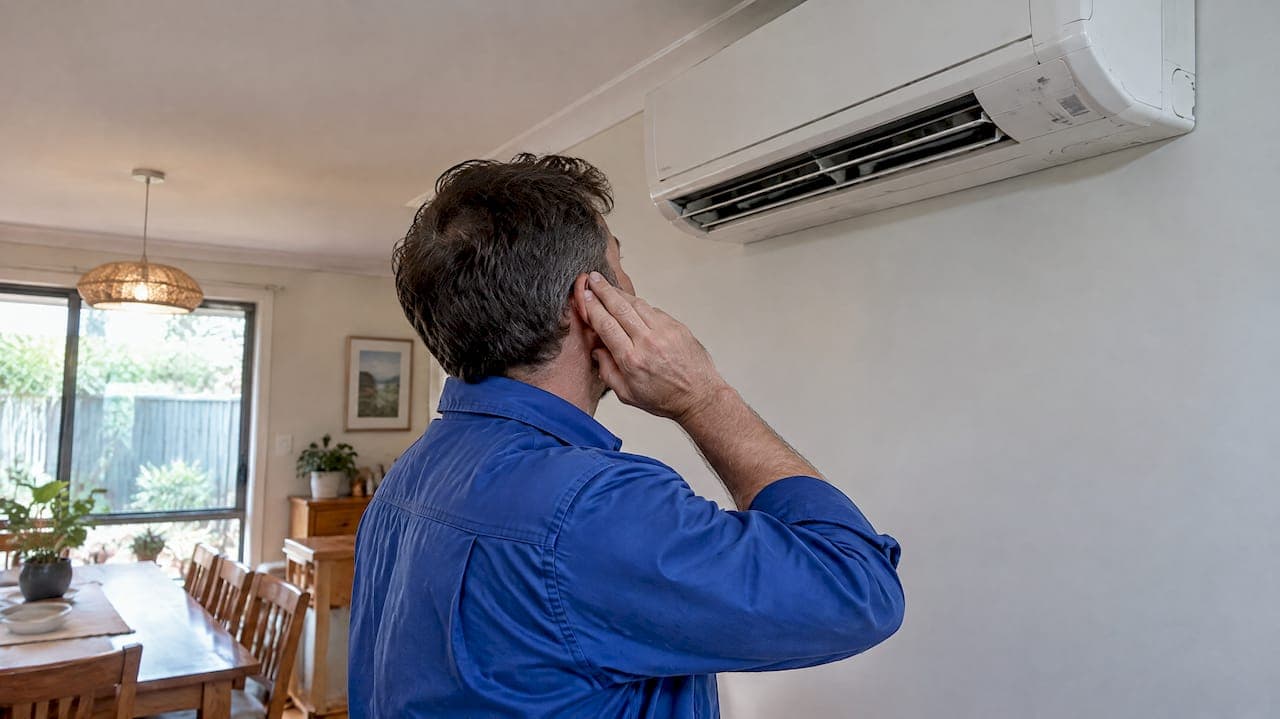
A rattling aircon usually points to a mechanical or installation issue: check loose panels, the fan and the mounting first. If the noise is loud, continuous, or paired with smells or electrical symptoms, switch the unit off and call a licensed technician. Refrigerant and electrical repairs in Australia legally require licensed tradespeople, so some fixes sit outside safe DIY territory from the start.
TL;DR:
- Loose panels, debris, or misaligned fan blades are the most common causes of rattling and can often be fixed by tightening or cleaning components.
- Worn motor or blower bearings typically worsen gradually and may require professional replacement, especially if noise progresses from rattle to grinding.
- Proper mounting and vibration isolation are essential; poor installation can amplify noise and affect neighbors, highlighting the importance of quality setup.
- DIY checks should stop at visual inspections and cleaning; any signs of electrical issues, smoke, or persistent grinding require immediate professional service.
- Regular maintenance, including seasonal filter cleaning and annual coil checks, reduces the risk of rattling and extends the unit’s lifespan.
Table of Contents
- What causes rattling in the indoor unit, outdoor unit and ductwork
- Safe checks you can do yourself before calling anyone
- When to call a professional and what a service visit involves
- How technicians diagnose and fix a rattling unit
- Preventing rattling before it starts
- Mike's take: the mistakes that turn a rattle into a bigger repair
- Booking a rattling aircon repair with us
- FAQ
- Sources
What causes rattling in the indoor unit, outdoor unit and ductwork
Rattling has a handful of usual suspects, and where the sound comes from narrows the list fast. An indoor head that rattles on start-up often has a loose front panel or a screw that has worked free over time. An outdoor condenser that clatters, especially in wind, frequently has debris caught in the fan cage or a cabinet panel vibrating against its frame.

Fan blades tell their own story. A blade that has been knocked, even slightly, loses its balance and strikes the housing on every rotation, producing a rhythmic tap that gets louder with fan speed. Worn motor or blower bearings behave differently: the noise tends to start quiet and grow worse over weeks as the bearing wears further, sometimes shifting from a rattle into a grind.
Ductwork can carry noise far from its actual source. A loose duct hanger or a section of flexible duct vibrating against a joist transmits sound through the ceiling cavity, which can make a problem in the roof sound like it is coming from the room below. Mounting plays a similar trick: an outdoor unit bolted to a hollow or reflective surface amplifies vibration that would otherwise go unnoticed, and installation and mounting quality directly affects how much noise reaches your neighbours or your living room.
A short list covers the common causes homeowners encounter:
- Loose or missing screws and panels on the indoor head or outdoor cabinet.
- Leaves, twigs or other debris trapped in the outdoor fan or coil area.
- Damaged, bent or misaligned fan blades striking nearby components.
- Worn motor or blower bearings, which usually worsen progressively.
- Loose duct hangers or vibration transmitted into wall and ceiling cavities.
- Poor mounting brackets or placement against a hard, reflective surface.
Rarer causes exist too. A failing compressor can produce an internal rattle that sounds mechanical but signals a much bigger repair, and in some outdoor units, pests nesting near the fan motor or wiring loom cause an intermittent clatter that stops and starts without an obvious pattern.
Safe checks you can do yourself before calling anyone
Before touching anything, isolate power at the wall switch or the isolator near the outdoor unit. Working on a live system, even for a visual check, risks injury and can mask the fault if the fan starts unexpectedly.
- Switch off power at the isolator and wait for the unit to stop completely.
- Inspect the indoor unit's front panel, looking for a loose edge or a gap where it should sit flush.
- Check and clean the air filter, since a clogged filter can cause airflow noise that mimics a rattle.
- Walk around the outdoor condenser and clear leaves, twigs or litter from the cabinet and base.
- Look at the fan blades through the grille for visible damage, bends or debris wedged against them.
- Check the base mounting for loose bolts, cracked feet or a frame shifted off its pad.
- Restore power and listen carefully: note whether the noise happens at start-up, during steady running, or only when the compressor cycles on.
That last step matters more than it sounds. A technician diagnosing the fault later will want to know whether the rattle is constant or intermittent, and whether it changes with fan speed. A quick note on your phone, even just "rattles loudest for the first ten seconds after start-up," saves diagnostic time.
If the checks above turn up a loose screw or visible debris, tightening the screw or clearing the debris is a reasonable DIY fix. Anything beyond that, especially inside the cabinet or near electrical components, is where DIY should stop.
Pro Tip: Record a short video of the unit running before you call a technician: the sound and the moment it occurs often tell a tradesperson more than a description does.
Stop immediately and call a licensed technician if you notice a burning smell, see sparks, hear persistent grinding rather than rattling, or notice the unit tripping the switchboard. These are signs of electrical or mechanical failure that DIY checks cannot safely address.
When to call a professional and what a service visit involves
Some symptoms remove the DIY option entirely. Continuous loud rattling that does not settle after a few minutes, any smoke or burning smell, repeated circuit trips, or a grinding noise that has replaced a rattle all call for an immediate professional visit rather than further home inspection.
Manufacturer guidance treats unusual noises like rattling and grinding as signs of mechanical faults such as loose parts or bearing wear, and recommends inspection before the fault worsens. A technician attending a rattling call-out will typically check:
- The motor and bearings for wear, play or abnormal resistance when spun by hand.
- Fan blade balance and alignment, looking for bends or buildup that throws off rotation.
- Panel and casing fasteners, confirming everything is seated and torqued correctly.
- Mounting and vibration isolation, including whether isolation pads are degraded or missing.
- Duct connections and coil condition, since a dirty coil can add mechanical load and noise.
Repairs range from a five-minute panel retightening to a multi-visit motor replacement if parts need ordering. Cost and time vary by the unit, the fault and your location, so site-specific quotes from a technician are more useful than general estimates. Where electrical or refrigerant work is involved, expect paperwork: a certificate of electrical safety or compliance documentation is standard practice for this kind of repair in Australia.
How technicians diagnose and fix a rattling unit
A proper diagnostic visit follows a logical sequence rather than guesswork. A technician starts by logging your description of the noise, since start-up, running and cycling sounds point to different faults. Next comes a static inspection with the power off: checking panels, fasteners, visible wear and debris.
Running checks follow, listening to the unit across its full range from start-up to steady operation. Where a fault is suspected in a specific part, technicians often do a manual spin check on fan blades or a vibration check using hand contact or a simple meter to find where the shake originates.
Common repairs flow from what that diagnostic finds:
- Bearing replacement, where wear has progressed but the motor itself is still sound.
- Full motor replacement, when bearing wear has damaged the motor beyond economical repair.
- Fan blade replacement or rebalancing, correcting bent or damaged blades.
- Refitting mounting brackets with new vibration isolation pads.
- Coil cleaning, where debris or fouling has added load and noise to the system.
Dirty condenser and evaporator coils reduce performance and can increase mechanical strain, and coil cleaning is required under AS/NZS standards in some settings, which makes it a genuine mechanical factor rather than just an efficiency issue.
Technicians generally weigh repair against replacement by comparing the cost of the fix to the unit's age and remaining service life. A motor replacement on a unit several years old might make sense; the same repair on a unit nearing the end of its typical lifespan often does not. Keeping maintenance records and commissioning documentation on hand helps technicians make that call accurately and avoids paying twice for the same diagnostic work.
Preventing rattling before it starts
Most rattling faults are preventable with a routine that takes very little time. On the homeowner side, a monthly glance at the outdoor unit for debris, a seasonal filter clean, and keeping at least 500mm of clearance around the outdoor cabinet cover the basics.
- Check the outdoor unit monthly for leaves, twigs or litter caught in the cabinet or fan guard.
- Clean or replace filters each season, more often in dusty environments.
- Keep garden growth and stored items clear of the outdoor unit's airflow path.
- Book a professional service annually, or twice yearly for units running heavily in commercial or care settings.
- Ask your technician to check coil condition, motor bearings and mounting during each visit.
A simple service log, even a shared document noting dates and what was checked, makes a real difference when a fault does appear later. It gives a technician a history to compare against, rather than starting from scratch, and it can matter for warranty claims if a part fails within its covered period.
This routine also pays off beyond noise control. Government best-practice guidance for HVAC maintenance links regular, documented maintenance to better energy efficiency and longer system life, since mechanical wear that goes unchecked tends to increase both running cost and the risk of a bigger failure later.
Mike's take: the mistakes that turn a rattle into a bigger repair
The DIY checks in this article (tightening a panel screw, clearing leaves, cleaning a filter) are genuinely safe and worth doing first. Where homeowners get into trouble is going further: opening the outdoor cabinet to poke at the fan motor, or assuming a rattle near the compressor is something they can quiet with a bit of tape or foam. Refrigerant and electrical components are not a place for trial and error, and it is not worth the risk to your safety or your warranty.

The bigger mistake I see is delay. A rattle that starts as a loose screw can, left for a few months, become a worn bearing because the vibration kept shaking other fasteners loose. What would have been a ten-minute fix turns into a motor replacement.
When we receive a rattling call-out, we ask for your notes on when the noise happens and follow up afterwards to confirm the fix held. Follow-up can catch cases where a repair needs adjusting before it becomes a repeat callout.
— Mike
Booking a rattling aircon repair with us
A rattling unit rarely needs just one trade. It might need a fan rebalanced, a mount refitted with proper vibration isolation, a coil cleaned, or a quick check of the circuit it runs on, and having all necessary trades covered under one visit can save you coordinating separate tradespeople for what is often one underlying fault. We handle Emergency Call-out work for exactly this kind of situation, alongside scheduled maintenance that catches loose mounts and worn bearings before they turn into a late-night callout.

Before we arrive, it helps to have your notes on when the noise happens, any service history you can find, and clear access to both the indoor unit and the outdoor condenser.
| What we cover | Relevant to rattling faults |
|---|---|
| Emergency Call-out | Same-day response for loud, sudden or worsening rattles |
| Heating & Cooling servicing | Fan, motor and mounting checks and repairs |
| Scheduled Maintenance | Coil cleaning and preventative bearing checks |
| Electrical | Licensed work where rattling coincides with electrical symptoms |
If you are dealing with a rattle that is not settling down, book a service through our site and we will arrange a technician to inspect and fix it properly.
FAQ
What could be causing a rattling noise from my indoor AC unit?
A rattling indoor unit is most often a loose front panel, a screw that has worked free, or a clogged filter causing airflow noise that sounds like a rattle. Less commonly, it can be a fan blade issue or debris inside the housing, which is worth a professional check if tightening the panel does not resolve it.
What's the average lifespan of an AC unit?
Lifespan varies by unit type, usage and maintenance, so there is no single figure that applies to every system. Manufacturer guidance treats persistent unusual noises as a sign to assess whether repair or replacement makes more sense given the unit's age and condition.
What is the 3 minute rule for air conditioners?
The 3 minute rule refers to waiting a few minutes after switching a unit off before turning it back on, to let internal pressure settle and protect the compressor. It is a general operating guideline rather than a fix for a rattling fault, so it will not resolve a mechanical noise issue on its own.
Why is my air conditioner making a buzzing noise?
A buzzing sound is usually electrical or motor-related, such as a failing capacitor, loose electrical connection or a motor under strain, and differs from the mechanical tapping or clattering typical of a rattle. Because buzzing often points to an electrical cause, it is best treated as a signal to call a licensed technician rather than a DIY check.
Is it safe to fix a rattling aircon myself?
Simple checks like tightening a visible screw, clearing outdoor debris or cleaning a filter are safe for most homeowners to do themselves. Anything involving the fan motor, electrical wiring or refrigerant components requires a licensed technician, since installation and repair work on these systems must be done by appropriately licensed practitioners.
Sources
- My outdoor unit seems too noisy / Doesn’t meet council noise requirements (Fujitsu General Australia and New Zealand)
- Is it time to replace or repair your air conditioner? (Daikin Australia)
- Energy
- Air-conditioning systems installation and replacements (Energy Safe Victoria / VBA guidance)