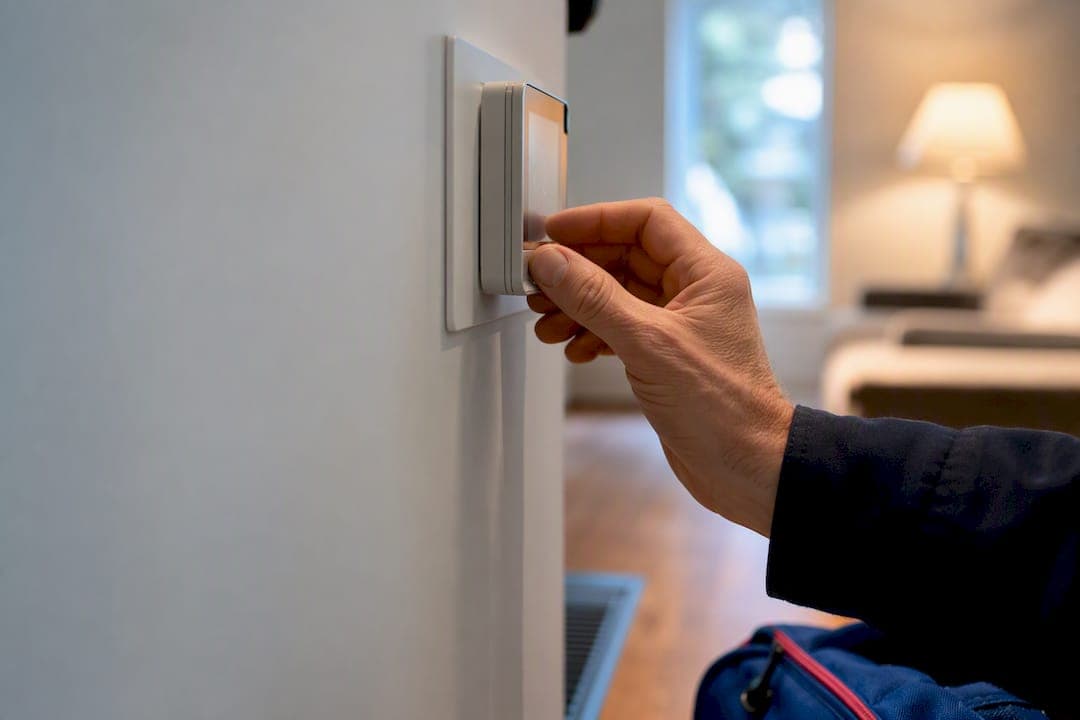
Most heating failures come down to one of three things: a thermostat problem, a power interruption, or a fuel and pressure issue. Check the thermostat settings and batteries, confirm the switch and breaker are on, then check the gas valve or boiler pressure gauge. If you smell gas, see water leaking, or a fault code keeps returning, stop and call a technician instead of testing further.
TL;DR:
- A faulty thermostat battery or incorrect settings can cause heating failures, and swapping batteries often resolves the issue within minutes.
- Checking the power switch and circuit breaker is a quick step, as tripped breakers or turned-off switches are common causes of no heat.
- For gas systems, ensure the gas valve is open and the boiler pressure is between 1 and 1.5 bar, while external blockages can also trigger shutdowns.
- Repeatedly pressing the reset button suggests a failing component that requires professional diagnosis rather than continued DIY attempts.
- Immediate professional help is critical if gas smells, leaks, electrical arcing, or persistent fault codes are present, as safety risks are involved.
Table of Contents
- Quick ordered DIY checks (2 to 5 minutes each)
- Checks by system type: boilers, ducted gas, furnaces, and electric heaters
- What component failures actually look like
- When to stop DIY and call a technician
- Maintenance that prevents most breakdowns
- What years of emergency call-outs have taught us
- A technician's take on troubleshooting your own heating
- Book a heating check with Dualflowservices
- Sources
Quick ordered DIY checks (2 to 5 minutes each)
Work through these in order. Each one takes a couple of minutes, and together they clear up the majority of "no heat" calls without any tools.
- Thermostat first. Confirm it's set to "heat," not "cool" or "fan only," and check the target temperature is actually above room temperature. Swap the batteries even if they look fine. A dying battery can still power the display but fail to trigger the relay.
- Power second. Check the heater's isolating switch is on, then check the household circuit breaker hasn't tripped. Ducted systems often have a separate switch near the unit itself, easy to knock off during other work.
- Fuel or pressure third. For gas systems, confirm the gas valve is open and other gas appliances (stove, hot water) are working. For boilers, check the pressure gauge.
- Find the reset button if your unit has one, usually a small red or black button on the control board. Press it once and watch the ignition cycle: you should hear the inducer fan start, see or hear the igniter, then a flame, then the blower kicking in a minute or so later.
- Check the filter and vents. A blocked filter or closed vent can mimic a much bigger fault. Replace or clean the filter if it's grey and clogged, and make sure no furniture is sitting over a floor or wall vent.
Manufacturers including Carrier recommend starting with power, thermostat, and pressure or pilot checks before calling anyone out, and it's the same order tradespeople work through on-site.
Pro Tip: If a reset fixes the problem but it comes back within a day or two, don't keep pressing the button. Repeated lockouts almost always mean a failing component, and running the system through unsuccessful ignition attempts isn't safe long-term.
Checks by system type: boilers, ducted gas, furnaces, and electric heaters
Different systems fail in different ways, so it pays to know which checks actually apply to your setup.
- Boilers: Look at the pressure gauge first. Around 1 to 1.5 bar is normal for most sealed systems, and if it's sitting well below that, the boiler may lock out to protect itself. Most units have a filling loop for re-pressurising, and the process is usually safe to do yourself if you're comfortable following the manual. A condensate pipe frozen or blocked outside can also trip the pressure switch and shut the whole system down.
- Ducted gas heating: Pilot or ignition failure often shows up as clicking with no flame, or a flame that lights then drops out. Check the return air filter too. A blocked return starves the burner of air and can prevent ignition entirely, which is one of the most common ducted heating issues we see.
- Furnaces: A normal start sequence runs inducer, igniter, flame, blower, in that order with no long gaps. If the burner lights for a few seconds then cuts out, suspect a dirty flame sensor or a high-limit switch tripping on restricted airflow.
- Electric heaters: These fail differently again. A tripped breaker means no power reaches the unit at all, no clicks, no fan, nothing. That's distinct from ignition failure, where you'll hear the system trying to start. Check thermostat wiring connections too, since a loose wire can present as a dead unit.
What component failures actually look like
Knowing what you're seeing helps you decide whether it's a two-minute fix or a job for someone qualified.
A dirty air filter causes the system to overheat internally, trip a high-limit switch, and shut the burner off mid-cycle, then restart once it cools, giving you that frustrating warm-then-cold pattern. Replacing the filter is usually the fix.
Thermostat faults show up as a system that won't respond to any setting change. Dead batteries, the wrong mode, or a loose wire behind the wall plate are the usual suspects, and all three are easy to test yourself.
Ignition problems are trickier to pin down without opening the unit. A dirty flame sensor or a failed igniter typically means the burner lights briefly then dies, or doesn't light at all despite the inducer fan running. Cleaning a flame sensor is inexpensive for a technician but does need a bit of know-how to do safely.
Power issues are the most obvious once you check: a tripped breaker or switched-off isolator leaves the unit completely silent, no fan, no clicks, no display.
Intermittent faults deserve special mention. A system that works one day and fails the next often points to a marginal part, an ageing igniter or a pressure switch that's starting to stick, rather than a total failure. Technicians prioritise replacing these early precisely because they cause unpredictable breakdowns before they fail outright.
When to stop DIY and call a technician
Some situations aren't worth troubleshooting further yourself.
- Call immediately if you smell gas, see a visible leak, notice electrical arcing or burning smells, or a fault code keeps returning after you've reset it more than once.
- Gather this information first: the system type and brand or model, any error code or LED flash pattern showing, and exactly which checks you've already run and what happened.
- Expect variables in cost and timing. After-hours emergency call-outs cost more than scheduled visits, and response time depends on whether parts need ordering or are carried on the truck.
Having your model number and a clear rundown of what you've tried ready before you call saves everyone time, and usually gets a technician to the right diagnosis faster once they arrive.
Maintenance that prevents most breakdowns
A handful of seasonal habits cut your odds of an emergency call-out significantly.
- Replace or clean the filter every one to three months during heavy use. A grey, matted filter restricts airflow enough to trigger the high-limit trips covered earlier.
- Run a pre-winter test cycle before the cold sets in: check thermostat batteries, run the system for ten minutes, and inspect external flues and vents for blockages like leaves or nests.
- Book annual servicing rather than waiting for a fault. Scheduled maintenance catches marginal parts before they fail, and fire safety authorities consistently flag poorly maintained heating equipment as a home-fire risk.
Pro Tip: Mark your filter change on the same calendar reminder as daylight saving. It's an easy habit to forget otherwise, and it's the single cheapest thing you can do to avoid a mid-winter breakdown.
What years of emergency call-outs have taught us
Dualflowservices handles emergency heating call-outs and scheduled maintenance across homes, businesses, and aged care and retirement living settings, where a heating failure isn't just uncomfortable, it's a genuine risk for vulnerable residents.
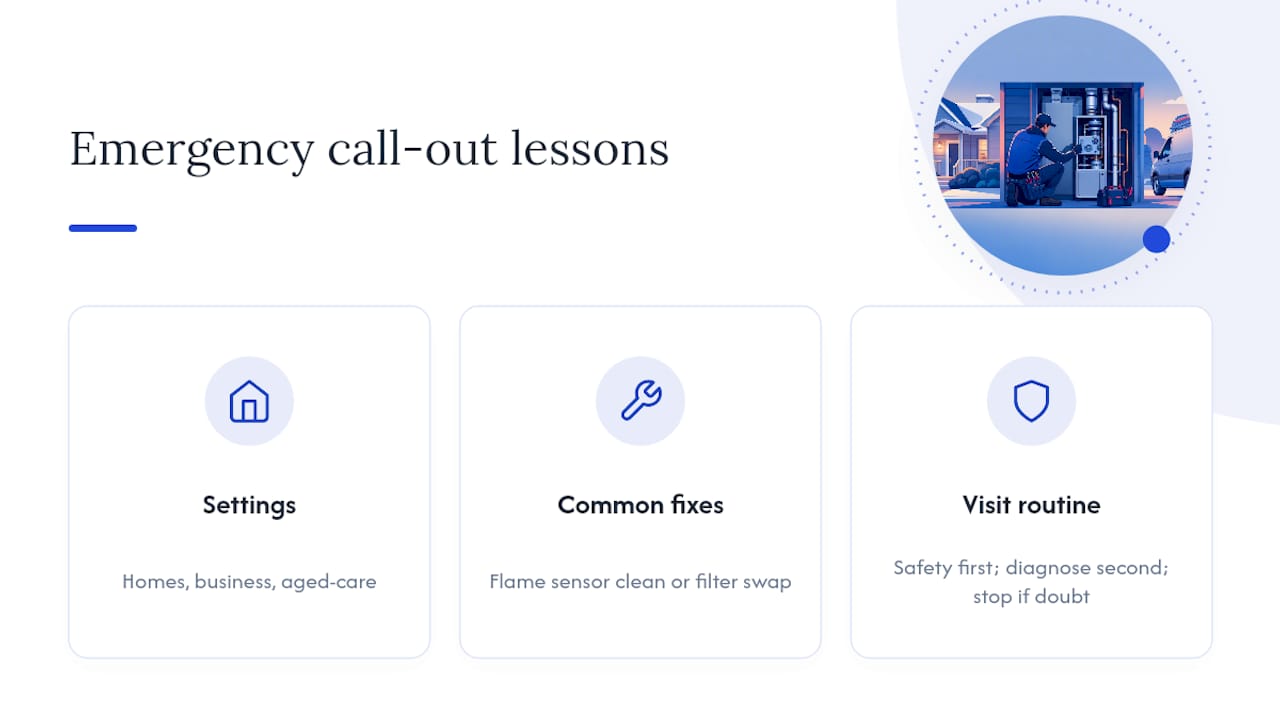
A typical call-out for "no heat" ends up being a flame sensor clean or a filter swap far more often than a major component failure. Our approach on every visit is the same: check safety first, diagnose second, and never leave a system running if there's any doubt about a gas or electrical fault.
A technician's take on troubleshooting your own heating
My rule for homeowners is simple: three checks, ten minutes, then call. Thermostat, power, fuel or pressure. If none of those fix it, you're chasing a component issue that needs proper tools. That's not a failure on your part, it's just where DIY reasonably ends.
— Mike
Book a heating check with Dualflowservices
Dualflowservices is the alternative to waiting on hold with a call centre when your heating fails on the Mornington Peninsula: local technicians who answer the phone, turn up with parts on the truck, and quote before touching anything.
Our service covers emergency call-outs, scheduled maintenance, and safety checks for gas ducted heating, boilers, and electric systems, across homes, businesses, and care facilities. A first visit starts with a safety triage of the unit, a straightforward quote, and a repair on the spot where parts allow, no return visit needed for the simple stuff. If you've been through the checks above and your heating still isn't responding, book a visit through the Dualflowservices landing page and get it sorted before the next cold night.
Sources
- Thermostat says heat on but no heat: 14 causes to check | HVAC Base
- If your heating isn't working - Help & Support - British Gas
- Heating — NFPA (National Fire Protection Association)