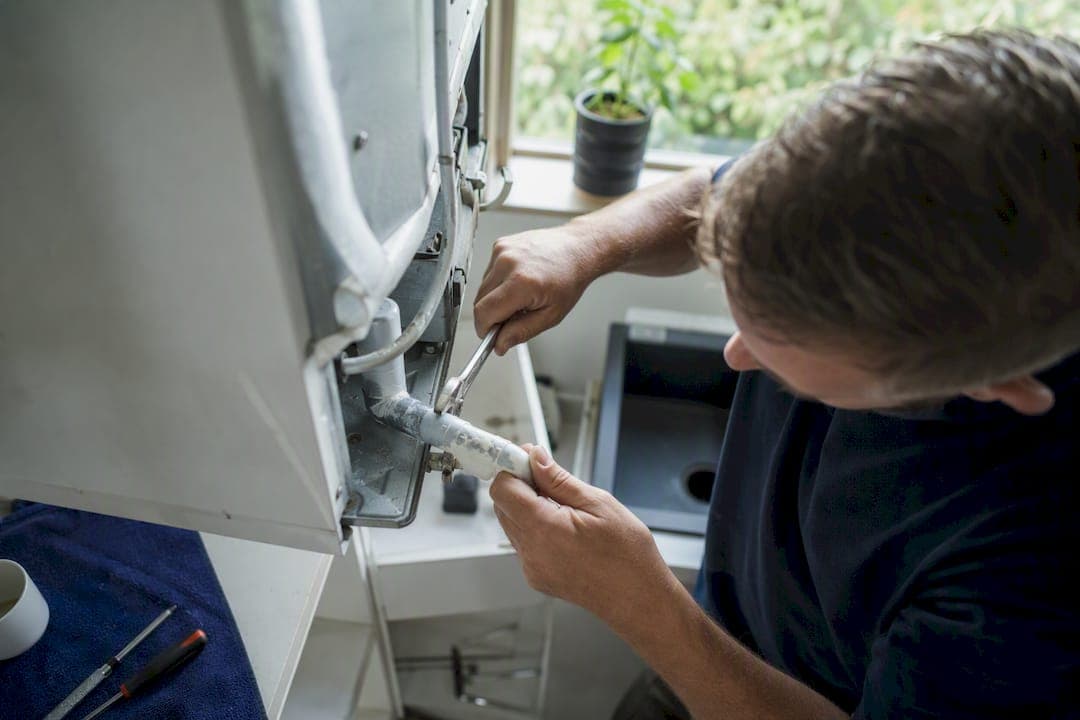
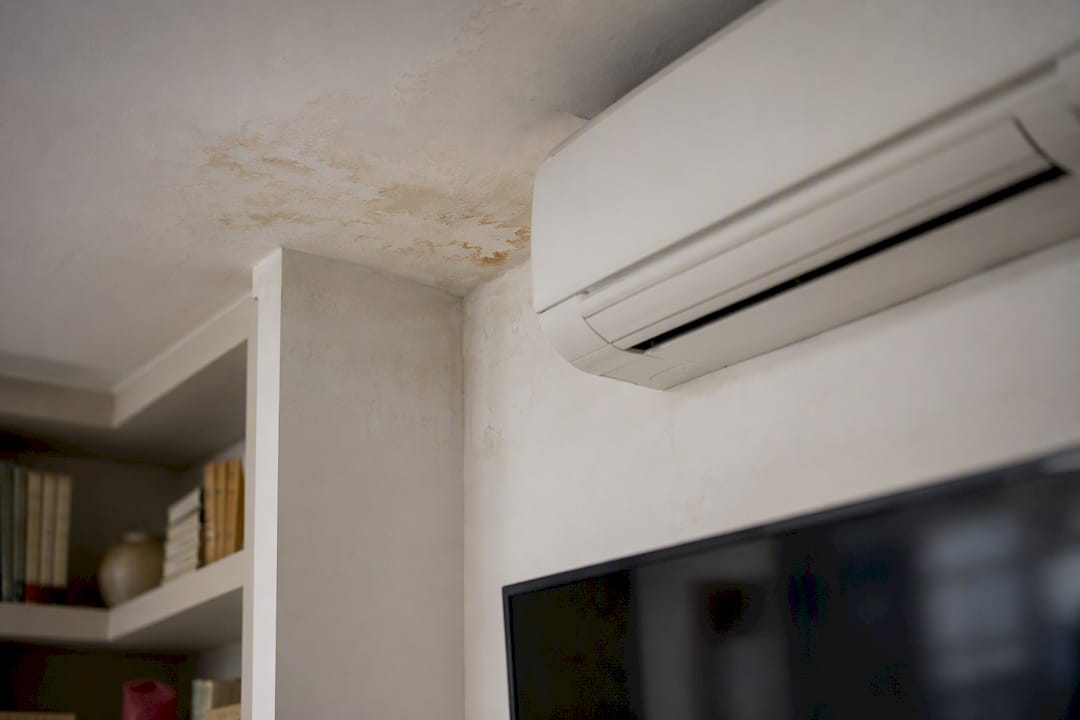
Most indoor leaks trace back to one of three things: a blocked condensate drain, a dirty filter that's frozen the coil, or a cracked drain pan. If water's pooling near power points or the switchboard, turn the unit off and isolate power immediately. Otherwise, mop up, photograph the leak, and work through the checks below before you call a technician.
TL;DR:
- Most indoor leaks stem from blocked drain lines or frozen coils due to dirty filters, with cracked drain pans and installation faults being common causes.
- If water pools near electrical components, turn off the system immediately and isolate power to prevent safety hazards before investigating further.
- Many leaks can be fixed in a few hours by cleaning filters, clearing drain blockages, or thawing frozen coils, but persistent issues often require professional diagnostics.
- Signs indicating the need for a licensed technician include recurring ice buildup, low refrigerant, cracked pans, and leaks near electrics, which can pose safety risks.
- Routine maintenance, such as filter replacement, drain line flushing, and system servicing, can prevent most indoor leaks and avoid costly repairs later.
Table of Contents
- What's causing your aircon leaking water problem?
- What should you do the moment you spot water?
- Can you fix an aircon water leak yourself?
- When should you call a licensed technician instead?
- How do you prevent aircon leaks from coming back?
- What we see most often on aircon leak call-outs
- Book an aircon leak inspection with Dualflow Services
- Sources
What's causing your aircon leaking water problem?
A blocked condensate drain line is the single most common reason an air conditioner leaks water inside a house. Algae, dust, and general grime build up inside the pipe over time, and once it's blocked, condensate has nowhere to go except back up and over the drain pan.
A dirty air filter causes a different chain reaction. Restricted airflow across the coil drops its temperature until moisture in the air freezes onto it. That ice eventually melts, usually more than the drain pan can handle, and you get a flood right when the unit's meant to be helping.
The other usual suspects:
- Frozen evaporator coil from restricted airflow or low refrigerant, showing up as visible ice on the coil or dripping after you switch the unit off.
- Cracked or overflowing drain pan, common in older units where corrosion has eaten through the plastic or metal.
- Installation faults, like a drain line that wasn't pitched with enough fall, or fittings that have worked loose over years of vibration.
- Condensate pump failure, on systems where gravity alone can't drain the line and a small pump does the work instead.
Some outdoor condensation is completely normal, particularly on humid days. It's only when water starts appearing inside the room that you're dealing with an actual fault rather than the unit just doing its job.
What should you do the moment you spot water?
- Switch the unit off at the controller, and if water is anywhere near power points, wiring, or the switchboard, isolate power at the wall or the meter box.
- Contain the damage. Grab towels, a mop, or a bucket, and move anything valuable off the floor nearby, especially electronics or timber furniture that can swell or warp.
- Work out where the water's actually coming from. Check the indoor unit itself, the ceiling cavity above it if it's ducted, and the outdoor unit's drain outlet.
- Look for visible ice on the indoor coil, note exactly where the water is pooling, and check whether the outdoor drain point is dripping normally or not at all.
- Take a few photos, note the time it started, and pay attention to whether the unit is still cooling properly. This saves a technician a lot of guesswork later.
Can you fix an aircon water leak yourself?
Plenty of leaks are fixable in an afternoon, no technician required. Here's the order to work through it.
- Check the filter first. Slide it out (most split systems have a front panel that lifts up and out), rinse it under a tap, and let it dry completely before refitting. A filter should generally get this treatment every one to three months, more often if you've got pets or run the unit constantly.
- Clear the external condensate outlet. Find the small pipe outside where water normally drips out, and check it isn't blocked by leaves, dirt, or insect nests. Run water through with a garden hose if it looks clogged.
- Try a wet/dry vacuum on the drain line. If you can access the drain line, a shop vac held over the outlet for a minute or two can pull a lot of built-up sludge free. Persistent clogs that keep coming back usually mean there's a deeper installation issue, and that's a job for a professional.
- Thaw a frozen coil properly. Switch the unit off entirely and leave it for several hours, ideally overnight, so the ice melts naturally. Never use a hairdryer, heat gun, or reversed fan setting to speed this up. You'll damage components that are far more expensive than the time you'd save.
- Check for drips after restart. Run the unit for thirty minutes to an hour and watch the indoor unit and the outdoor outlet. No fresh water anywhere means you've likely fixed it.
Pro Tip: Keep a spare filter on hand so you're never tempted to skip a clean because you don't want the unit off for an hour. A quick swap beats a frozen coil every time.
When should you call a licensed technician instead?
Some symptoms are your cue to stop and pick up the phone.
- Hissing sounds, ice that keeps coming back despite a clean filter, or steadily dropping cooling performance. These usually point to low refrigerant, and refrigerant work legally requires an ARC licensed technician, not a DIY fix.
- A cracked or corroded drain pan, glued or inaccessible drain runs, or a condensate pump that's stopped working. Pumps in particular need diagnosis, not guesswork.
- Leaks from a ceiling cavity, which can mean water's been sitting somewhere unseen for a while.
- Water pooling near electrics, or a leak that just won't stop despite your checks. This is a genuine safety and structural risk, not something to keep mopping up week after week.
A technician arriving on-site will check refrigerant pressure, inspect the pan and drain run for damage, test the pump, and check insulation on the line set before signing off on a fix.
How do you prevent aircon leaks from coming back?
A bit of routine maintenance heads off most indoor leaks before they start.
- Clean or replace filters every one to three months.
- Flush the drain line with a vinegar solution every three to six months to keep algae from building back up.
- Book an annual professional service that covers a drain line flush, pan inspection, refrigerant pressure test, and a check of the line insulation.
- Ask about a float switch or leak sensor, which shuts the unit down automatically if water starts backing up. Cheap insurance against a much bigger mess.
- Request an accessible clean-out point when a system's installed, so future drain clears don't need a full pipe teardown.
If you're managing a system for a facility rather than a single home, our air conditioning maintenance checklist for summer covers the seasonal timing worth locking into a calendar. Left unaddressed, a leak that's sat for weeks can lead to mould growth and genuine structural damage to ceilings and walls, and mould in ductwork is its own separate headache once it takes hold, as The Mold Genius explains in more detail.
Pro Tip: If you've had condensation issues on walls or ceilings near the unit rather than a direct leak, that's often a separate moisture problem worth having assessed on its own, as outlined by Quay Point Plastering.
What we see most often on aircon leak call-outs
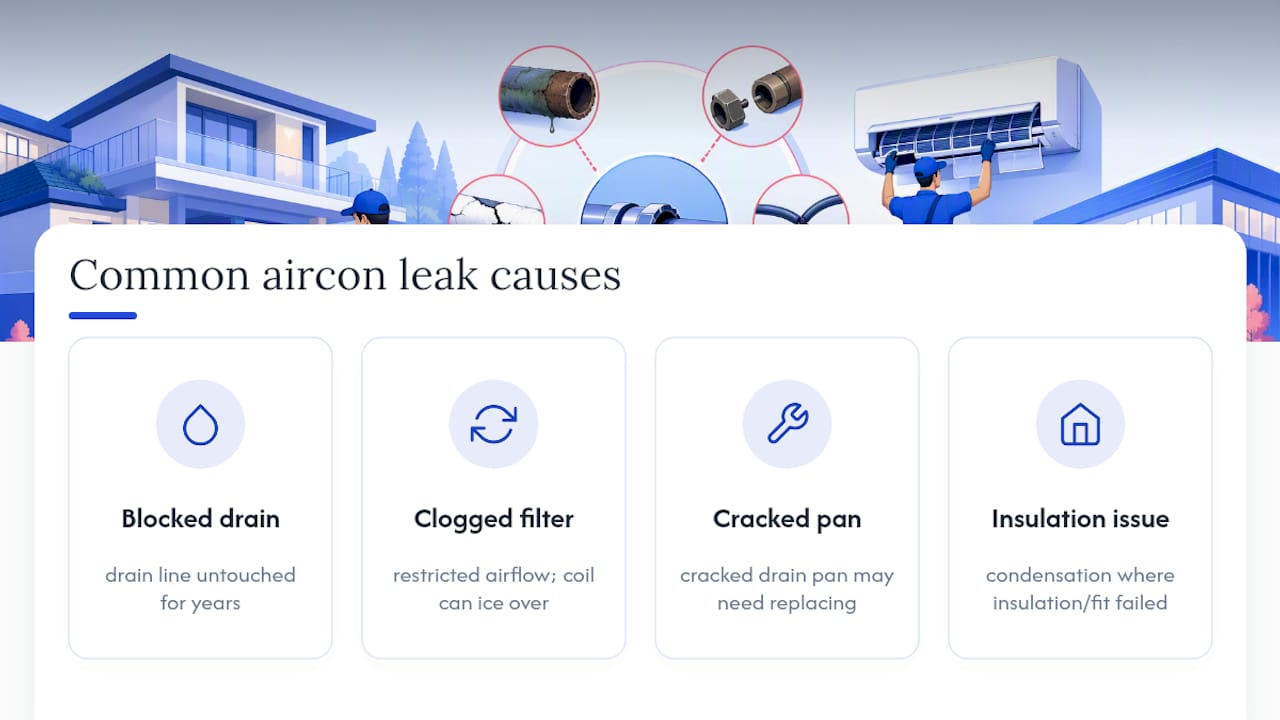
Most call-outs we attend for a leaking aircon come down to one of two things: a drain line nobody's touched in years, or a filter that's been quietly restricting airflow until the coil finally iced over. Both are fixable in a single visit, whether that means clearing the drain, replacing a cracked pan, or repairing insulation that's let condensation form somewhere it shouldn't.
Deciding between a repair and a full replacement usually comes down to the age of the unit and how many separate faults are stacking up. A five-year-old system with one blocked drain gets fixed. A fifteen-year-old unit with a corroded pan, a failing pump, and a refrigerant leak is a different conversation. Before we arrive, photos of where the water's pooling and a note on how long it's been happening save real time on-site.
— Mike
Book an aircon leak inspection with Dualflow Services
Dualflowservices gets you a licensed technician on-site instead of hours spent guessing whether that drip is a filter problem or a refrigerant one. Servicing homes and businesses across the Mornington Peninsula and surrounding Melbourne suburbs, including aged care and disability care facilities, we check the drain line, the pan, the coil, and refrigerant pressure in one visit rather than sending you back and forth.

Booking is straightforward: call for an emergency call-out if water's active right now, or schedule a maintenance visit if you've already done the basic checks above. Have your photos and a note on when the leak started ready. It speeds up diagnosis and gives you a clearer picture of pricing before we start. If you're managing a facility rather than a single unit, our guide on commercial air conditioning servicing covers what to expect from a site visit. Get in touch through Dualflowservices to lock in a time before a small leak turns into a bigger repair bill.
Sources
- Water leak from AC? Here's what you need to do (and what NOT to do) | Trane
- 5 Reasons Your AC Is Leaking Inside Your House | Hummingbird
- What should I do when water drops fall from my air conditioner? | Samsung Australia